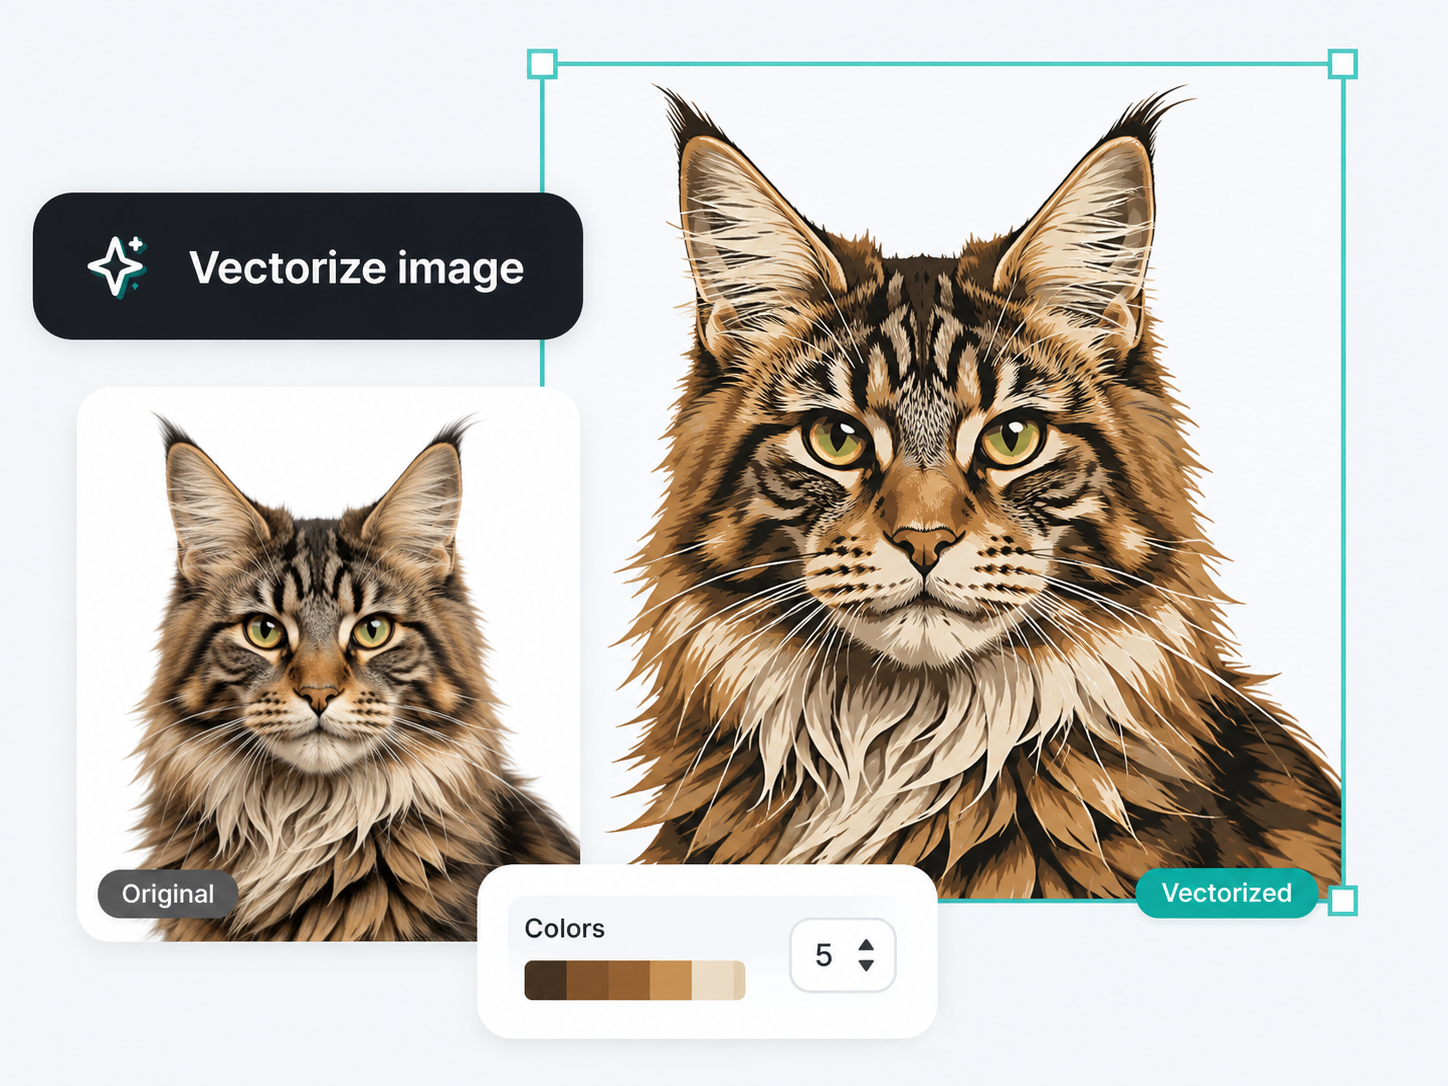
Why JPG logos break down when scaled, and how vector tracing turns them into something that stays sharp at any size.
A common problem for designers: a client hands over a low-quality PNG or JPG of their logo, and that's what you have to work with. It might look sharp enough at its original size, but the moment you try to scale it up, it turns blurry and unprofessional. The fix is converting that JPG into a vector without losing quality in the process and vector tracing is exactly the tool built for that job.
Here's what that actually means, why it matters, and how to do it well.
JPG is a raster format, and that comes with a built-in limitation not a quality issue you can just avoid by starting with a higher-resolution file. Even a high-quality JPG starts to break down the moment you scale it up: jagged edges, blurriness, and blocky shapes that make a logo look unprofessional at larger sizes.
Vector files work fundamentally differently. A circle in a vector document isn't thousands of colored pixels arranged to look round it's a set of coordinates and curves that the program recalculates every time the image is displayed. That's why the same vector file looks identical whether it's shown on a phone screen or blown up to a ten-foot billboard. No jagged edges, no loss of quality, at any size.
Vector tracing also called vectorization or auto-trace is the process of converting a JPG or PNG into a vector file. The tool analyzes the shape, color, and design of the uploaded image and recreates it as vector paths.
The quality of that result depends heavily on the tool doing the tracing. Some vector tracing tools produce output that still needs manual cleanup before it's usable rough curves, missing detail, or blurry edges that mean tracing by hand anyway, just starting from a rougher base instead of the original image. AI Vectorizer Tools' vectorizer is built to get closer to a finished result on the first pass, without that extra manual touch-up step.
This is where the choice of tool makes a real difference to actual workflow time, not just the theoretical quality of the output.
For logo conversion specifically, precision matters more than almost anywhere else smooth edges, precise color separation, and clean curves aren't a nice-to-have, they're the entire point of the process. A tool that leaves rough curves, missing details, or blurry edges just shifts the manual tracing work to after the auto-trace step instead of eliminating it.
The output should be a standard SVG file the same vector format used across design, web, and print workflows. From there, it can be opened in any vector editor, scaled to any size, recolored, edited piece by piece, or exported to whatever format a final project needs.
It should also be accessible regardless of design experience. A business owner updating their own logo for the first time should get results just as usable as a professional designer running the same conversion as part of client work.
Some vector tracing tools only really work when a logo is simple and already high-quality the moment it gets more complex or starts from a lower-resolution source, accuracy drops off. A tool built to hold up on complex designs, not just simple ones, is what actually solves the JPG-to-vector problem reliably.
Done well, converting a low-resolution JPG logo into a clean, precise vector means it can be scaled to any size a business card or a billboard without ever looking unprofessional again.