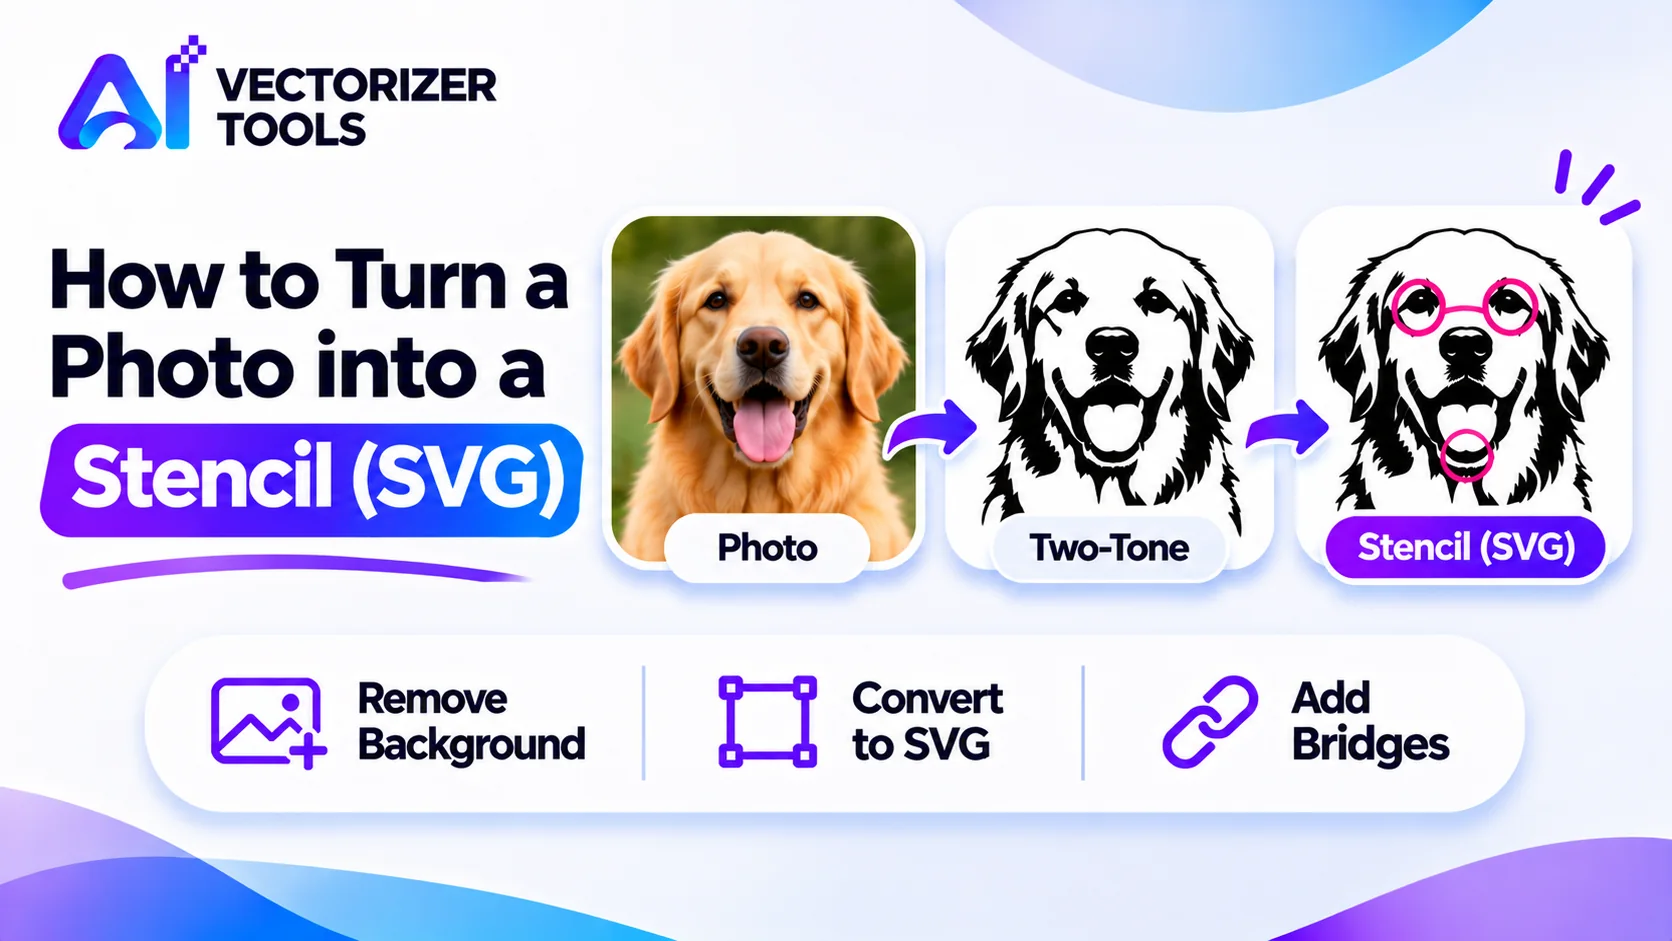
A stencil is based on a simple concept that comes with a tricky constraint: every cut-out element must remain connected to a part that holds it in place. If the design is well thought out, the stencil can be reused indefinitely with spray paint, fabric paint, an airbrush, or a sponge. Here is how to turn a photo or a logo into a stencil ready for cutting.
A stencil has only two states: open (allowing paint to pass through) and closed (blocking the paint). This means that a stencil design contains no gradients or shading, only shapes. Your first task is to transform a photograph into a two-tone, black-and-white image, where one color represents the voids (the openings) and the other represents the solid material (the stencil sheet).
Single-layer stencils yield the best results with high-contrast imagery, such as bold silhouettes, profile portraits, logos, or lettering. Photographs characterized by soft lighting, a wide range of midtones, or complex backgrounds will appear muddled or confusing once converted into a two-tone stencil.
Remove the background so only the subject remains.
Most image editors have a threshold or black-and-white adjustment. Move the slider until the important features read clearly.
Remove stray dots and tiny specks, which would be fiddly to cut and would spoil the stencil.
Break up any enclosed islands (see below).
Use a craft cutter or laser, depending on your material.
Take the letter O. If you cut a perfect ring out of a stencil, the circle in the center is no longer held by anything and ends up falling out. The solution is to add a “bridge,” a small strip left intact so that the central part remains connected to the rest. Many fonts and designs for stencils rely on this principle, featuring breaks in the strokes of letters such as A, B, D, O, P, Q, and R.
You want a stencil of a dog's head for a tote bag. You choose a photo taken in strong side light, remove the background, and push the contrast until the dog's eyes, nose and ears show as dark shapes against light fur. You clean away small specks, convert it to SVG, and notice that the dark eye shapes are enclosed islands. You add small bridges in the eye outlines and across the ear, then scale the design to ten inches wide and cut a test on cardstock. The test shows the nose detail is too fine, so you thicken it and cut the final one in stencil film.
| Material | Good for | Notes |
|---|---|---|
| Cardstock | One-off, quick tests | Warps with wet paint |
| Stencil film or plastic sheet | Reuse many times | Washable, more durable |
| Adhesive vinyl | Crisp edges on fabric or wood | Single use, sticks down well |
A single stencil gives a flat, graphic look. If you want more tonal depth, you can make several stencils from the same image, each representing a different level of darkness. Start with a light threshold for the first layer, which captures only the darkest areas. Then make a second version at a mid threshold, which includes more area, and perhaps a third. Paint the lightest tone first through the largest stencil, then add darker layers on top, using registration marks, small corner notches or tape guides, so each layer lines up exactly. Two or three layers are usually enough to make a portrait look dimensional, and more than four becomes difficult to keep aligned. Cut a test set from cardstock first, to check that the layers register properly before you invest in better material.
Upload your two-tone image and get a clean SVG with cut-ready paths, ready for bridges and cutting.
Convert your image to SVG →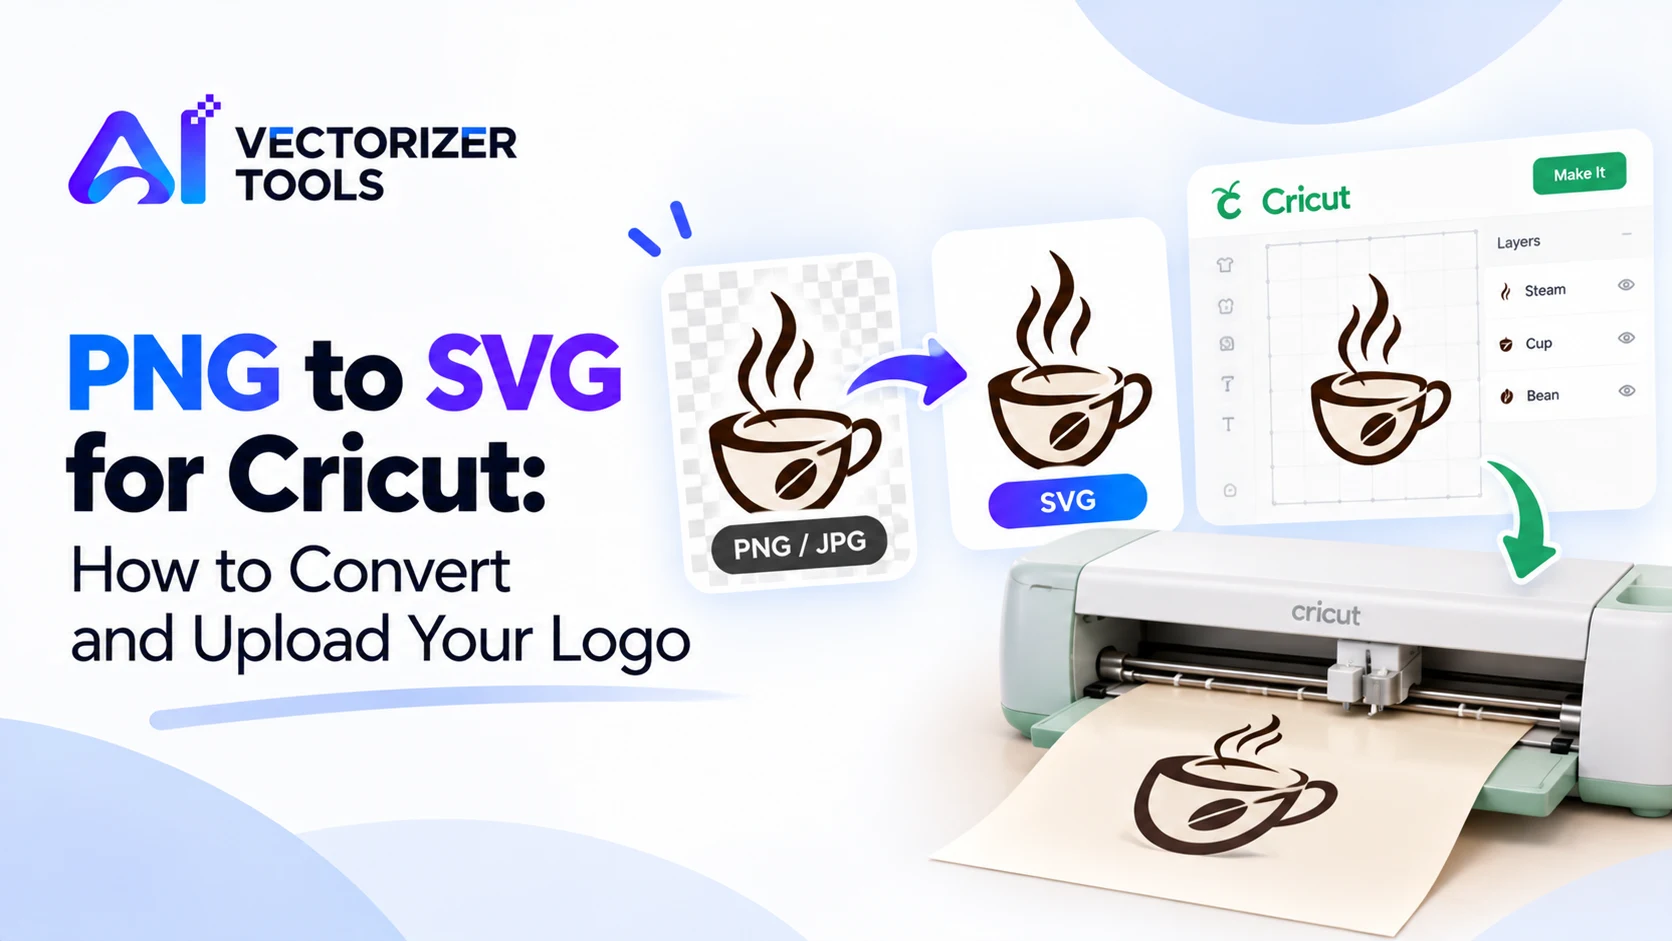
Turn a PNG or JPG logo into an SVG for Cricut Design Space. Learn which images convert well, how to upload, and how to fix common upload errors.
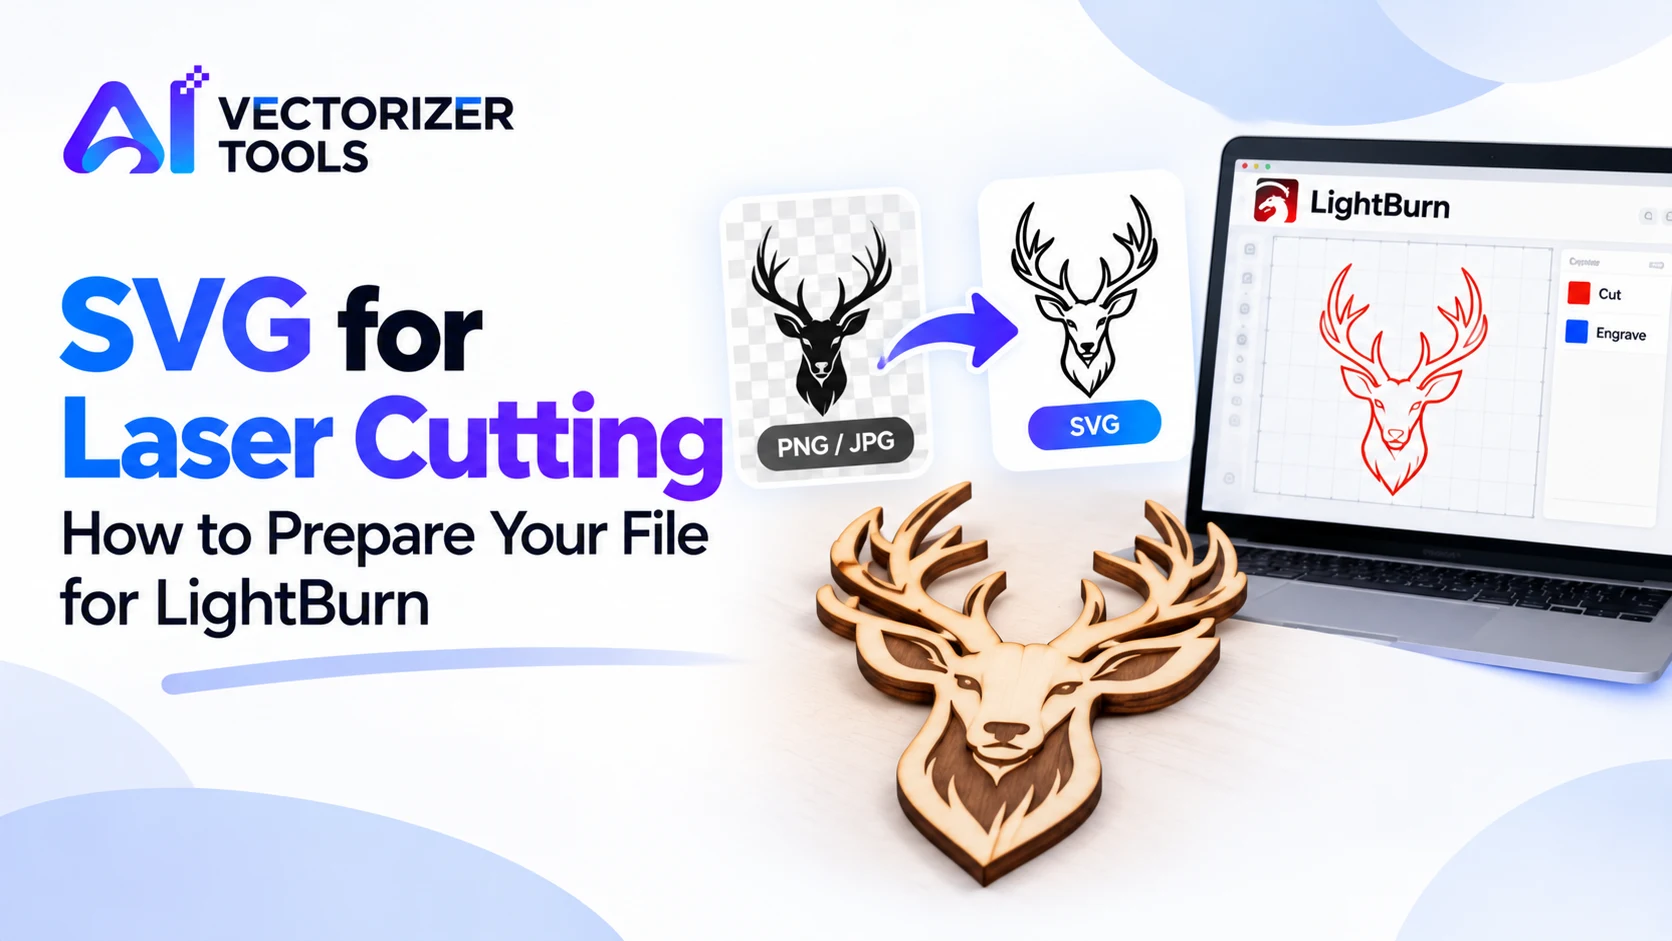
Turn a PNG or JPG into an SVG ready for laser cutting. Learn about closed paths, cut vs. score layers, and how LightBurn reads your file.
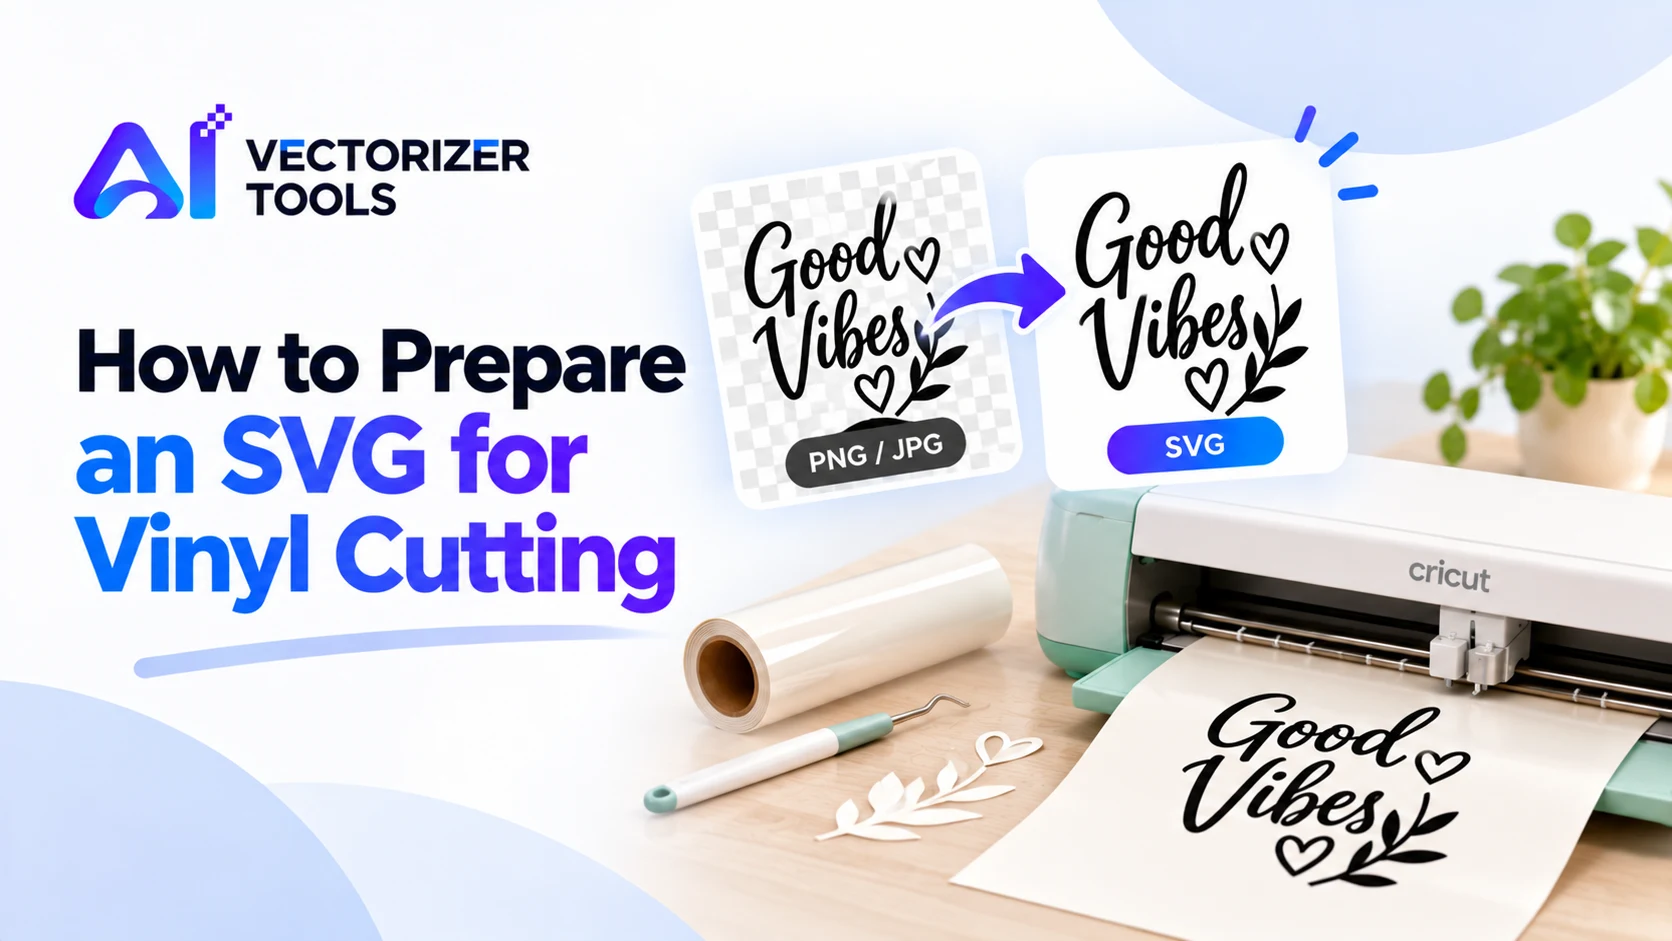
Make a vinyl-ready SVG from a PNG or JPG. Learn which details to simplify, how to avoid weeding headaches, and when to mirror for iron-on vinyl.
A bridge is a small uncut strip that holds an island of material, like the center of the letter O, in place so it doesn't fall out.
Technically yes, but high-contrast photos with a clear subject work much better than soft, low-contrast ones.
Most craft cutters and lasers accept SVG, which holds the cut paths.