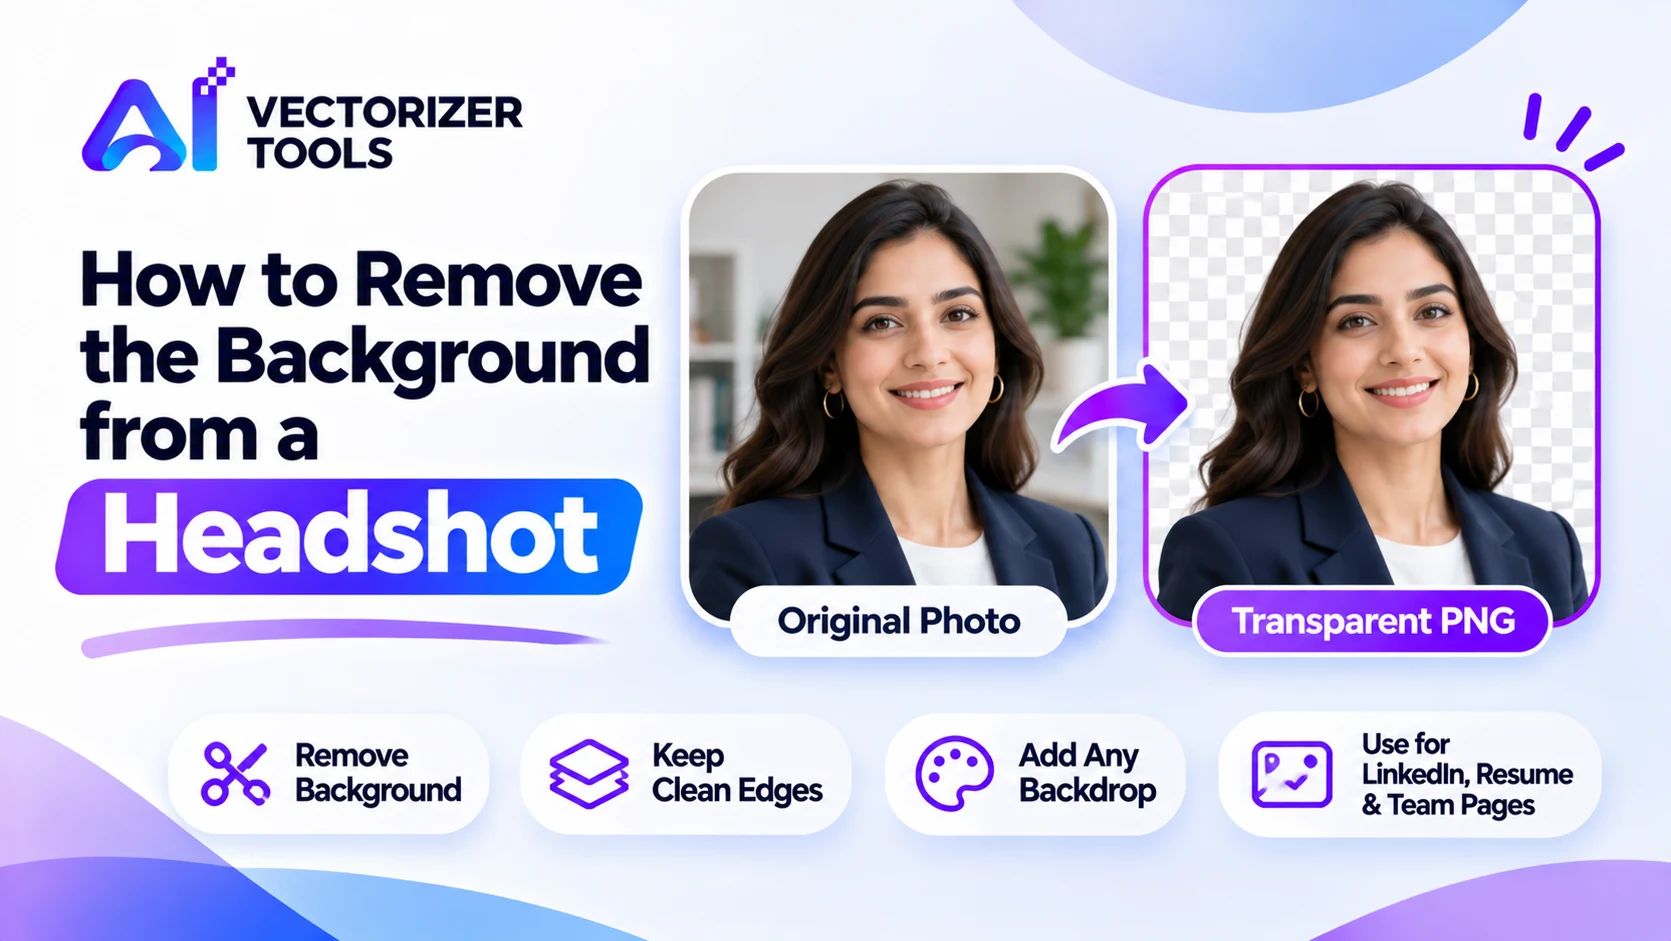
A cluttered background can draw attention away from your face. By removing that background, you can place a solid color behind your portrait, whether it's for LinkedIn, a resume, a team page, or a speaker's biography.
Face in focus, good light, head and shoulders clearly separated from the background.
You get a transparent PNG via the Background Remover (1 credit).
Zoom in around hair, ears, collars and glasses.
The tool outputs a transparent PNG, so put it on a solid color or soft gradient in any image editor, slide tool or design app.
Square crops with the face centered are the safest.
| Use | Backdrop idea |
|---|---|
| LinkedIn, resume | Soft grey, light blue or white |
| Team page | One consistent color for everyone |
| Speaker bio | Brand color, with enough contrast against hair and clothes |
Be honest about edits. Changing the background is fine; heavy retouching to your face is a different matter.
Selling products as well? See background removal for Amazon, Etsy and Shopify.
The best background removal starts before the photo is taken. A few simple choices make a noticeable difference.
You manage a team of eight and want one consistent set of headshots for the company website. People sent photos from their phones, in different rooms, with different light.
The result looks like a coordinated photo shoot, without the shoot. The consistency, not any single photo, is what makes it look professional.
| Backdrop | Effect | Watch out for |
|---|---|---|
| Soft grey | Neutral and professional | Can look flat |
| White | Clean and bright | Light hair and shirts can blend in |
| Brand color | Strong identity | Clashing with skin tones or clothing |
| Subtle gradient | Depth | Banding on some screens |
Profile photo requirements change over time, so be sure to check the current recommendations for each platform. As a general rule, a square image measuring at least a few hundred pixels on each side, with your face centered, is a good starting point. Export the file as a JPG if the photo has a solid background, or as a PNG if you need to preserve transparency.
Modifying a background is a common and widely accepted form of retouching. Altering your appearance, however, is an entirely different matter. In a professional context, a portrait is expected to reflect how a person actually looks; therefore, you should limit any retouching to the background, the framing, and basic lighting adjustments.
If you also sell products, see making a transparent PNG logo for a similar workflow.
It takes a minute to run through these, and it catches nearly every problem that would otherwise show up after the photo is published.
Upload a portrait and get a clean transparent PNG back in seconds, ready for any backdrop.
Remove a headshot background →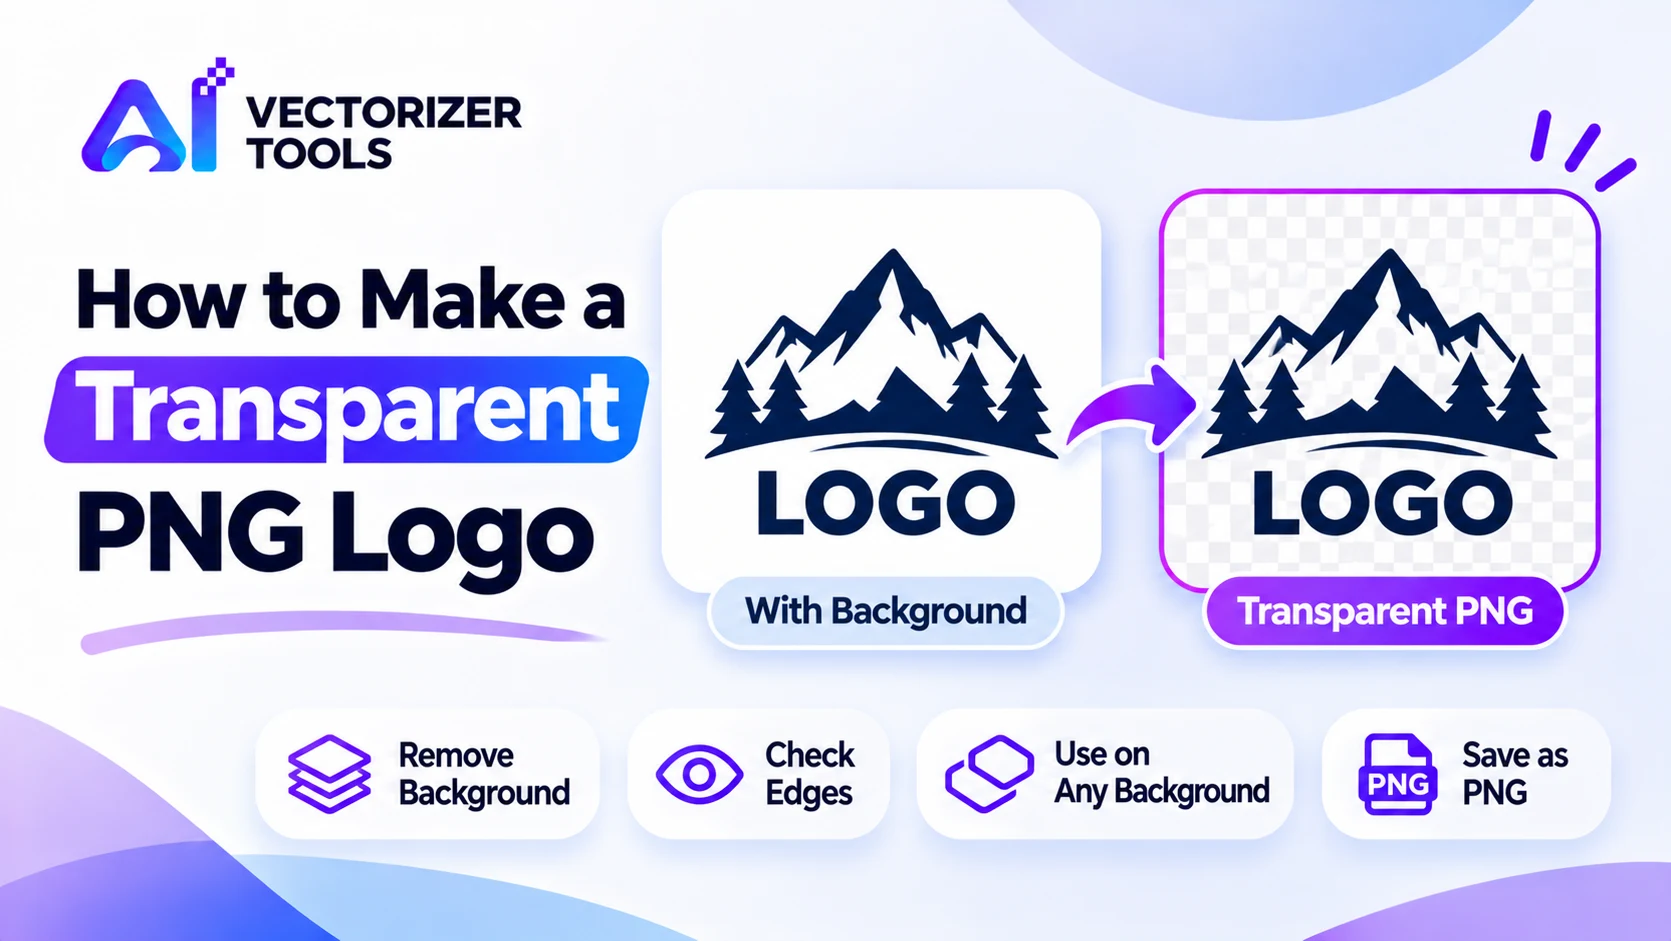
Remove the background from your logo and save a transparent PNG. Learn how to check edges, avoid white halos, and when SVG is the better choice.

Remove backgrounds from product photos for Amazon, Etsy and Shopify. See each platform's image rules, ideal sizes, and a simple step-by-step workflow.
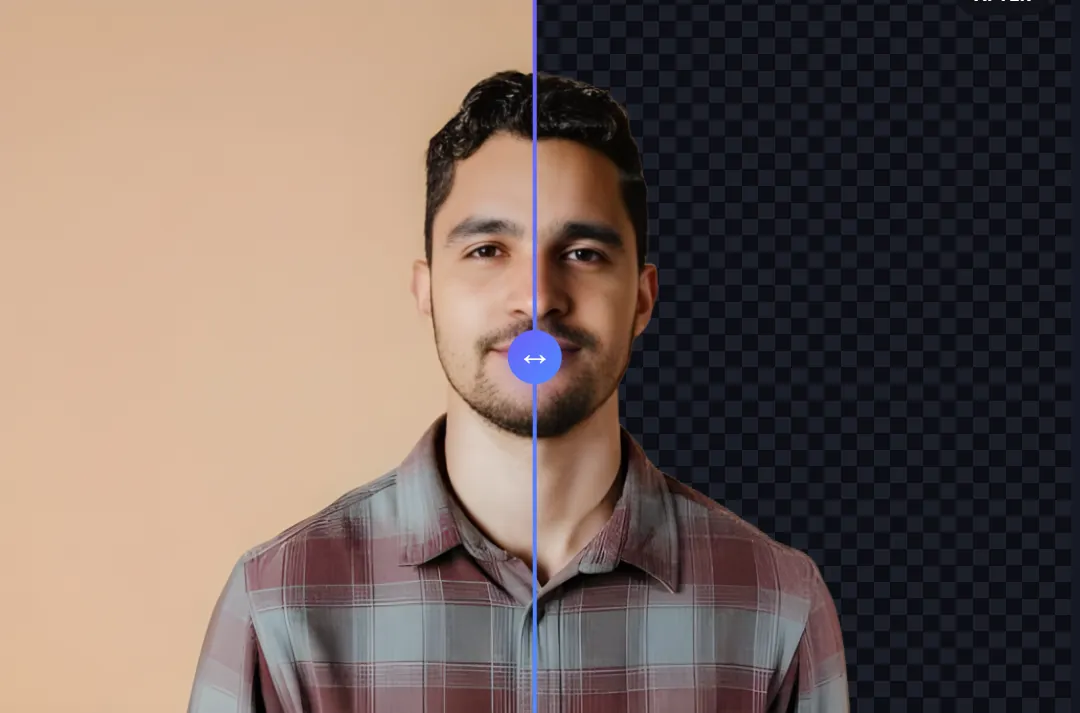
A task that used to eat hours in Photoshop now takes seconds here's what actually changed.
Yes, as long as your face and shoulders are clear. Good light and a bit of distance from the wall give better edges.
Fine hair strands are the hardest part for any background remover. Try a photo with better contrast against the background.
Neutral colors like soft grey, light blue or white are safe and keep the focus on your face.