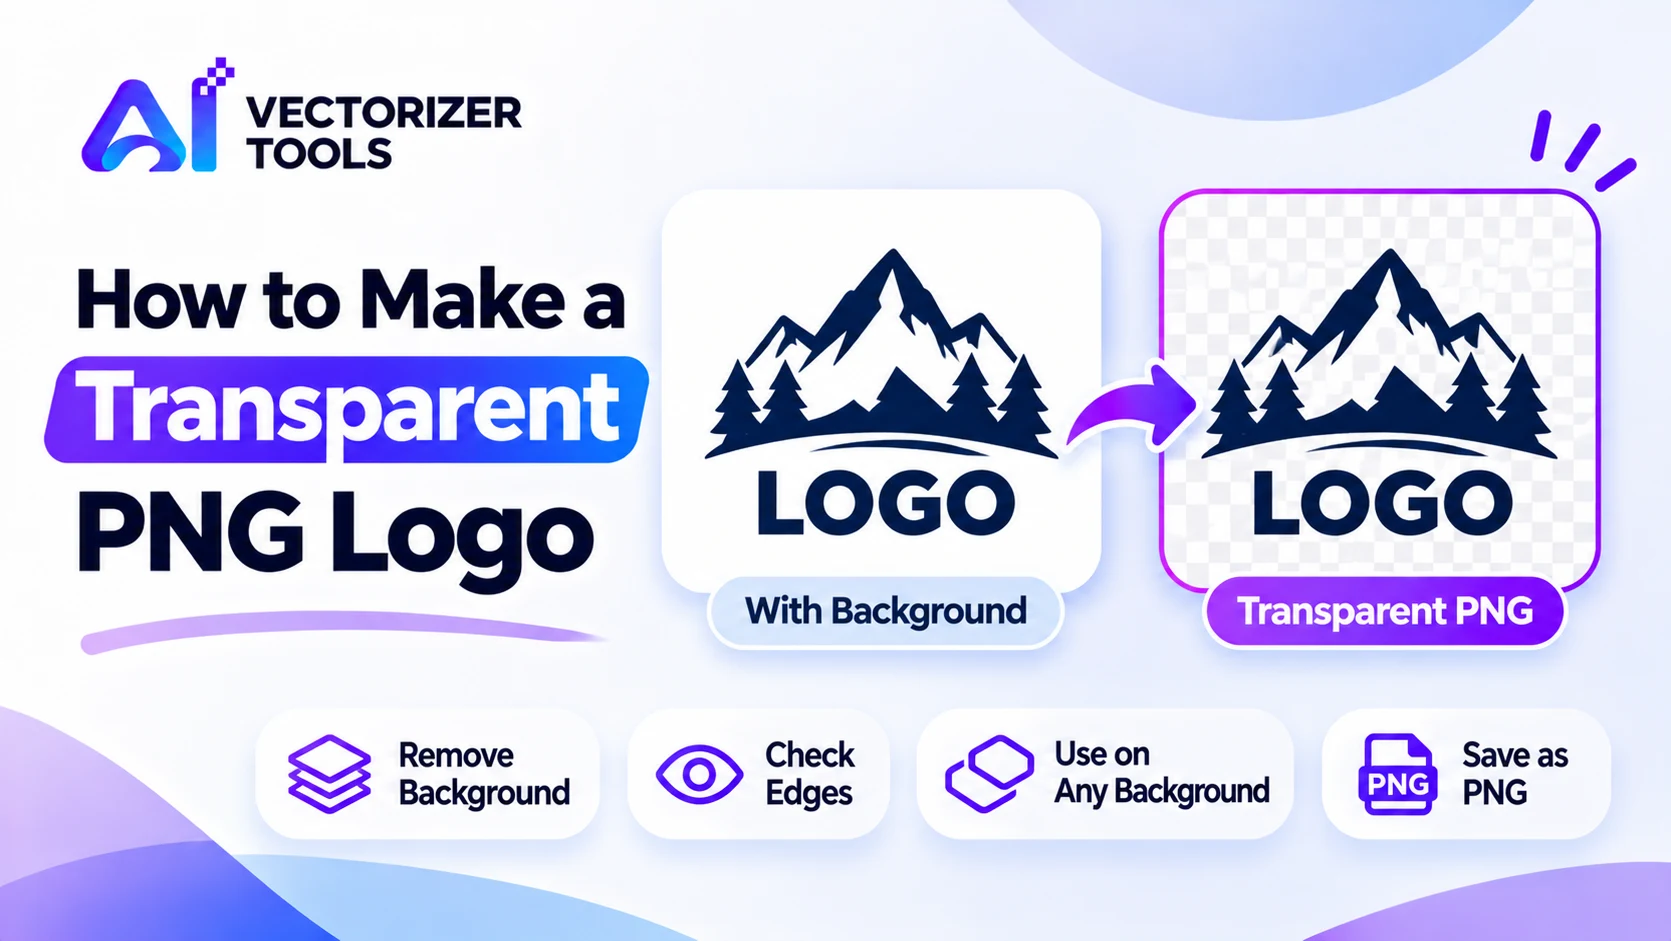
A logo on a white background can look out of place on a colorful website, in a video, or on a product mockup. A transparent PNG file has no background, allowing it to blend seamlessly into any medium. Here's how to create one.
One click removes the background and gives you a transparent PNG via the Background Remover (1 credit per image).
Check curves, thin lines and small text.
Place it on white, black and a bright color to expose problems.
Something like logo-transparent.png.
Leftover light edge pixels show on dark backgrounds. Test on black before you rely on the file. A cleaner original with sharper edges helps.
White or very light parts of a logo can be mistaken for background. Check inside letters and shapes.
Start from a higher-resolution original.
| Transparent PNG | SVG | |
|---|---|---|
| Transparency | Yes | Yes, by default |
| Scales without blur | No | Yes |
| Best for | Quick use, slides, social | Logos at any size, print, cutting |
For a flat-color logo, an SVG is often the better master, because it stays sharp at any size and has no background to remove. Convert it with the SVG Converter. See converting PNG to SVG.
A transparent PNG file is one of the assets most frequently reused by a company. It is incorporated into websites, presentation slides, video overlays, product mockups, social media visuals, previews of merchandise, and various other documents. In each of these cases, the background changes, which is precisely why transparency is important.
A better start gives a better result. Spend a minute on these:
Your logo consists of dark navy blue text on a white rectangle. You remove the background using a Background Remover tool and then save the file as a transparent PNG. On your website, which has a white background, the result looks perfect. However, in a video intro with a black background, you notice a faint light-colored outline around the letters, a result of pixels left over from the edges of the original white background. To fix this, you could go back to a cleaner source file or create an inverted version of the logo specifically designed for dark backgrounds. Testing the file against a black background before using it would have revealed this issue immediately.
| Use | Suggested width |
|---|---|
| Website header | About 400 to 600 px |
| Slides and documents | About 1,000 to 1,500 px |
| Print proofs | 2,000 px or more |
| Social avatar | Square crop, around 400 px or larger |
These are practical starting points, not strict rules. If a master file is small, use the Image Upscaler to create larger versions, and keep your original as the source.
A single transparent logo is rarely suitable for every situation. Dark text becomes invisible against a dark background, just as light text disappears against a light background. Prepare at least two versions: a dark version for light backgrounds, and a light version (usually white) for dark backgrounds. Give them clear, descriptive names, for example "logo-dark.png" and "logo-light.png."
Once you have a clean, transparent PNG file, place it in a location accessible to everyone. Using a single shared folder with files that have clear, descriptive names prevents anyone from accidentally using a low-quality copy, such as one pulled from an old email or a screenshot. A good organizational approach is to create a separate folder for each version, while keeping the original source file at the top level. Include variations for both dark and light backgrounds, a version reduced to just the icon, and an SVG file if you have one. Also, include a short text file specifying the brand's exact color codes, as well as the minimum size below which the logo loses its legibility. If you need to update the logo, replace the existing files and archive the older versions; this ensures the folder always reflects the brand's current visual identity.
Finally, keep in mind that transparency is often not visible in many preview tools, which may display it against a white or black background. Always evaluate how the file looks on an actual background, rather than judging it by its thumbnail.
Upload your logo and get a clean transparent PNG back in seconds, ready for any background.
Remove your logo background →
Changed your brand colors? Learn how to recolor old logo files, keep every version consistent, and check contrast so the new colors actually work.

Turn any PNG into a scalable SVG for logos, print, Cricut, and the web.
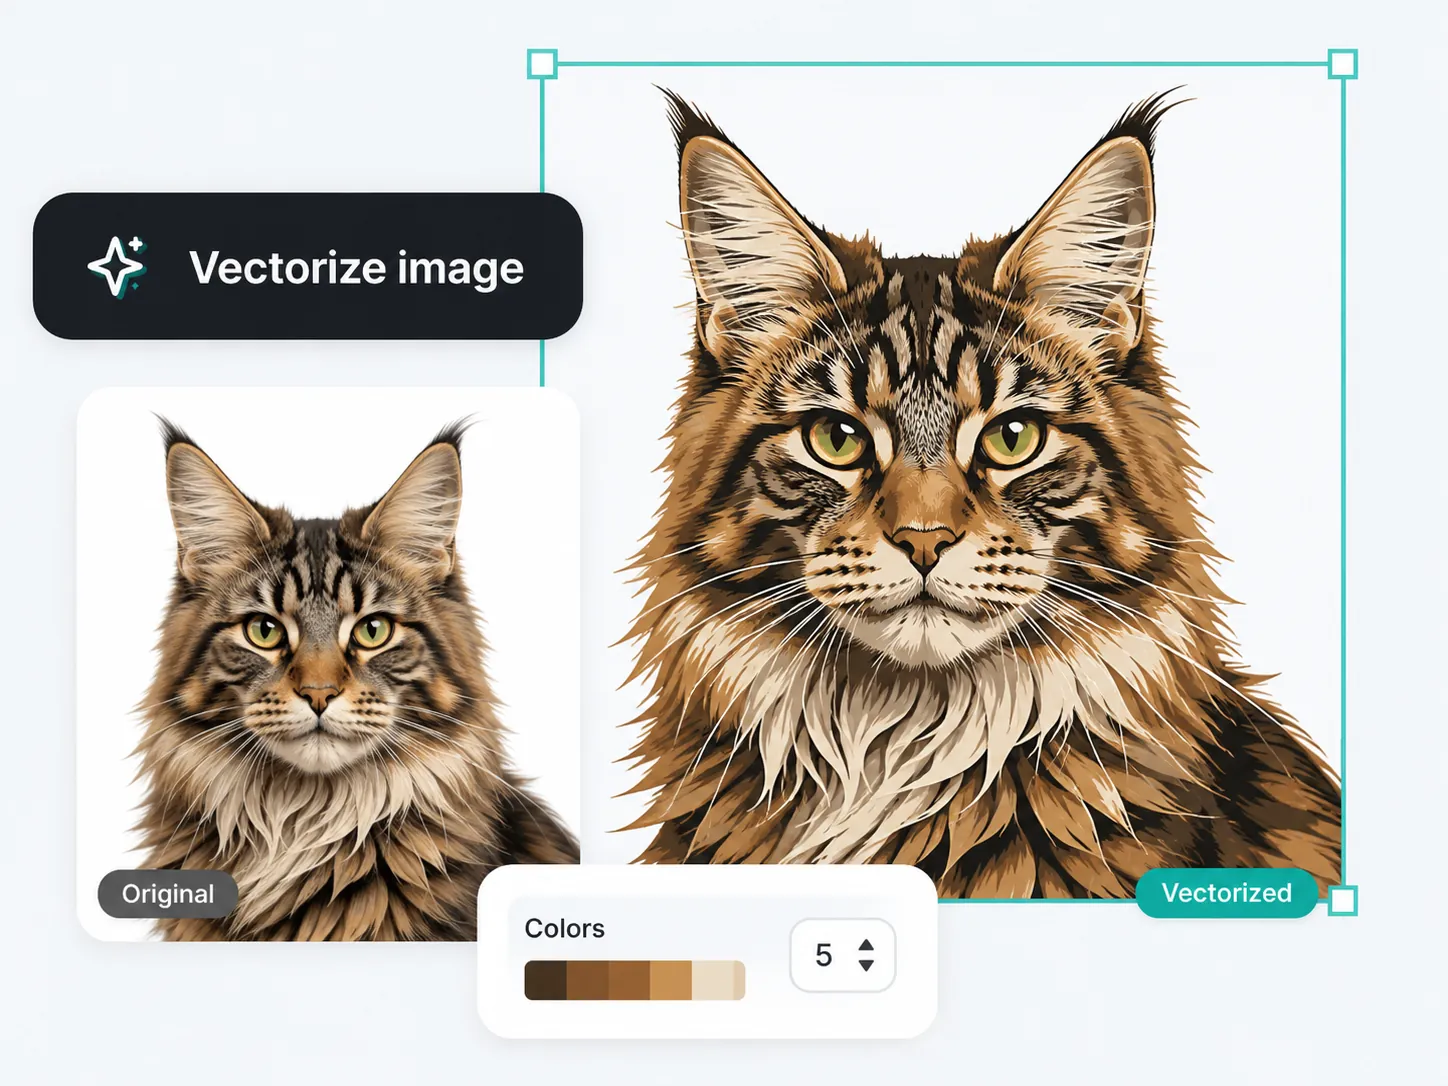
Why JPG logos break down when scaled, and how vector tracing fixes it for good.
PNG and SVG both support transparency. JPG does not.
Light leftover pixels around the edges are visible against dark colors. Use a sharper source and test on black before using it.
For flat logos, SVG is better because it scales without blur. PNG is handy when you need a quick, universally supported file.