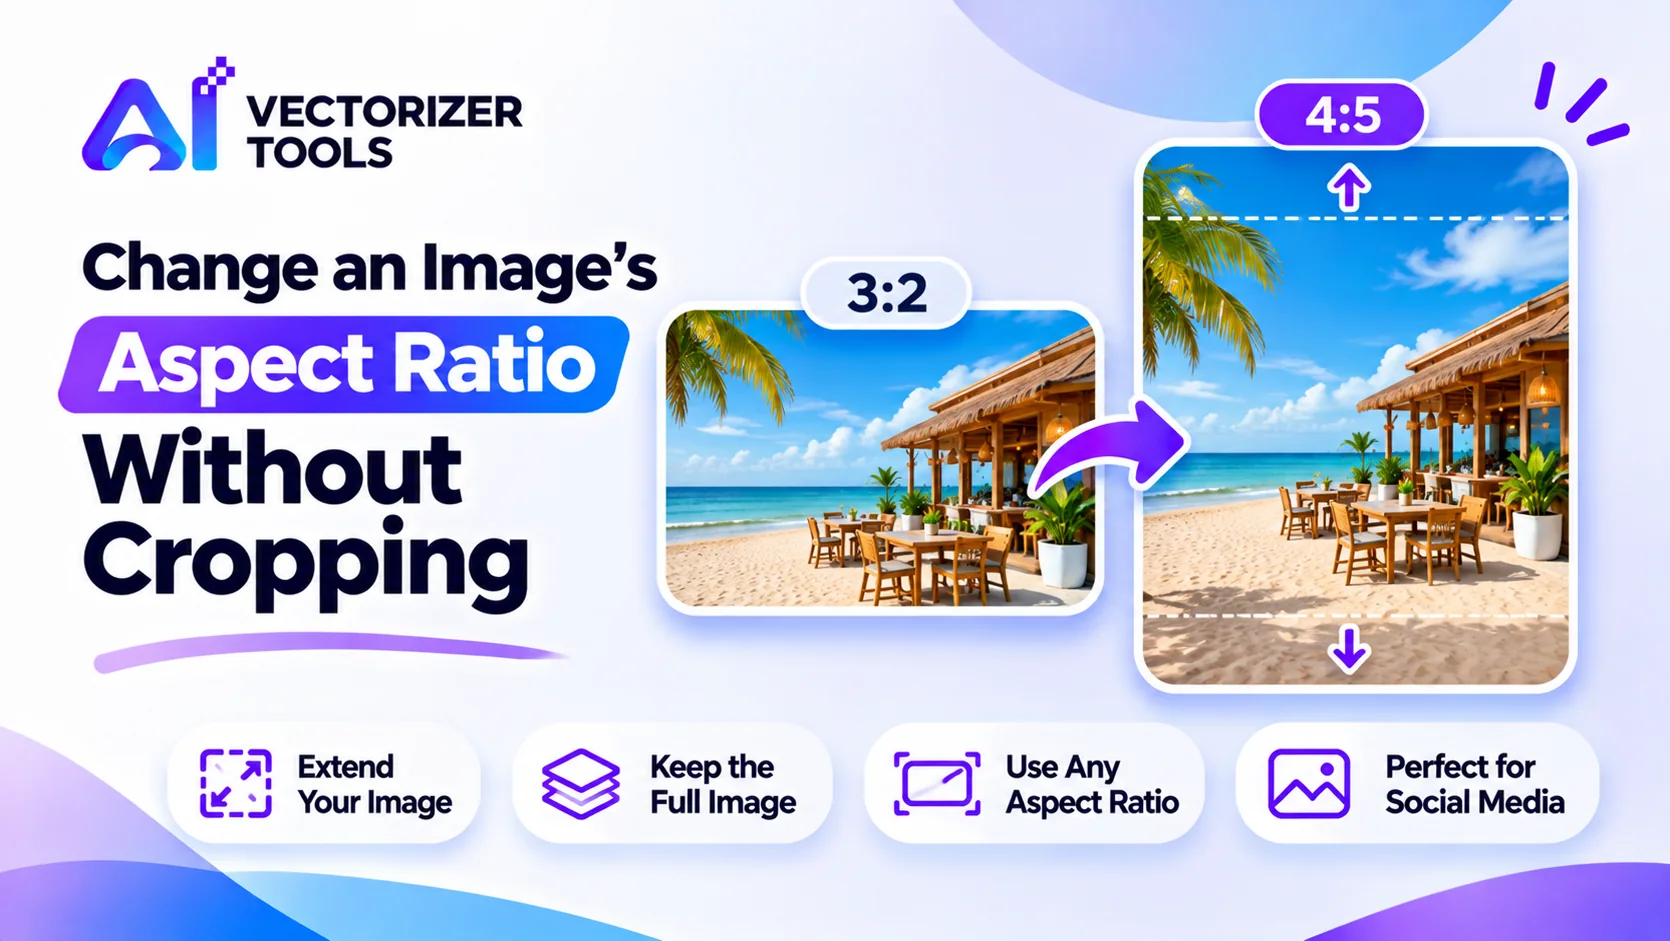
Your photo is the wrong shape for the space. Cropping cuts off part of the picture. A better option is to extend it, adding new image around the edges so the whole original stays visible.
Image Expander uses AI to create new content beyond the original edges, designed to match what's already there: sky continues, walls continue, backgrounds continue. For a deeper look, read how to expand any image beyond its original frame.
| Situation | Better choice |
|---|---|
| Subject fills the frame, nothing to spare | Expand |
| Lots of empty space around the subject | Crop |
| Need a much wider or taller shape | Expand, then crop slightly |
| Busy, detailed edges | Crop, since AI may struggle |
For example, 4:5 (portrait feed), 1:1 (square) or 16:9 (wide).
A 4:3 landscape photo going to 4:5 portrait needs height added; a portrait going to 16:9 needs width added.
Open the Image Expander and expand in the direction you need (2 credits).
Look for visible seams, repeated patterns or odd shapes.
Resize to the exact pixel dimensions if needed.
Going beyond one shape? See sizing one photo for every social platform.
The aspect ratio (or format) refers to the relationship between width and height, expressed as two numbers. A square has a 1:1 ratio. A standard landscape-format photo has a 3:2 or 4:3 ratio. A phone screen in portrait mode has a 9:16 ratio. To change the shape, you can either remove pixels (cropping) or add them (extending). Stretching, which deforms the entire image to fit a desired format, is never a good solution, as it distorts faces and logos.
Work it out before you start, so you know how much new image the AI must create.
| Starting size | Target ratio | What to add |
|---|---|---|
| 3000 × 2000 (3:2) | 4:5 portrait | Height: needs 3000 × 3750, so add 1750 px |
| 3000 × 2000 (3:2) | 1:1 square | Height: needs 3000 × 3000, so add 1000 px |
| 2000 × 3000 (2:3) | 16:9 landscape | Width: needs 5333 × 3000, so add about 3333 px |
| 1080 × 1080 (1:1) | 9:16 Story | Height: needs 1080 × 1920, so add 840 px |
The formula: to reach a taller shape, new height = width × (target height ÷ target width). To reach a wider shape, new width = height × (target width ÷ target height).
You have a landscape photo of a beach cafe at 3000 × 2000. You want a vertical Story at 9:16. Cropping would leave only a narrow slice of the scene. Extending adds sky above and sand below, keeping the whole cafe.
Sky and sand are forgiving. Adding more of a busy street scene would be riskier.
If extending doesn't look right, there are classic fixes: place the photo on a solid or blurred-background canvas of the new size, add a border, or use a different photo. These aren't as seamless, but they're predictable. For a deeper explanation of how extending works, read how to expand any image beyond its original frame.
Need many sizes at once? See the social media size cheat sheet.
Upload a photo, pick the direction, and get the full image back in the new shape.
Open Image Expander →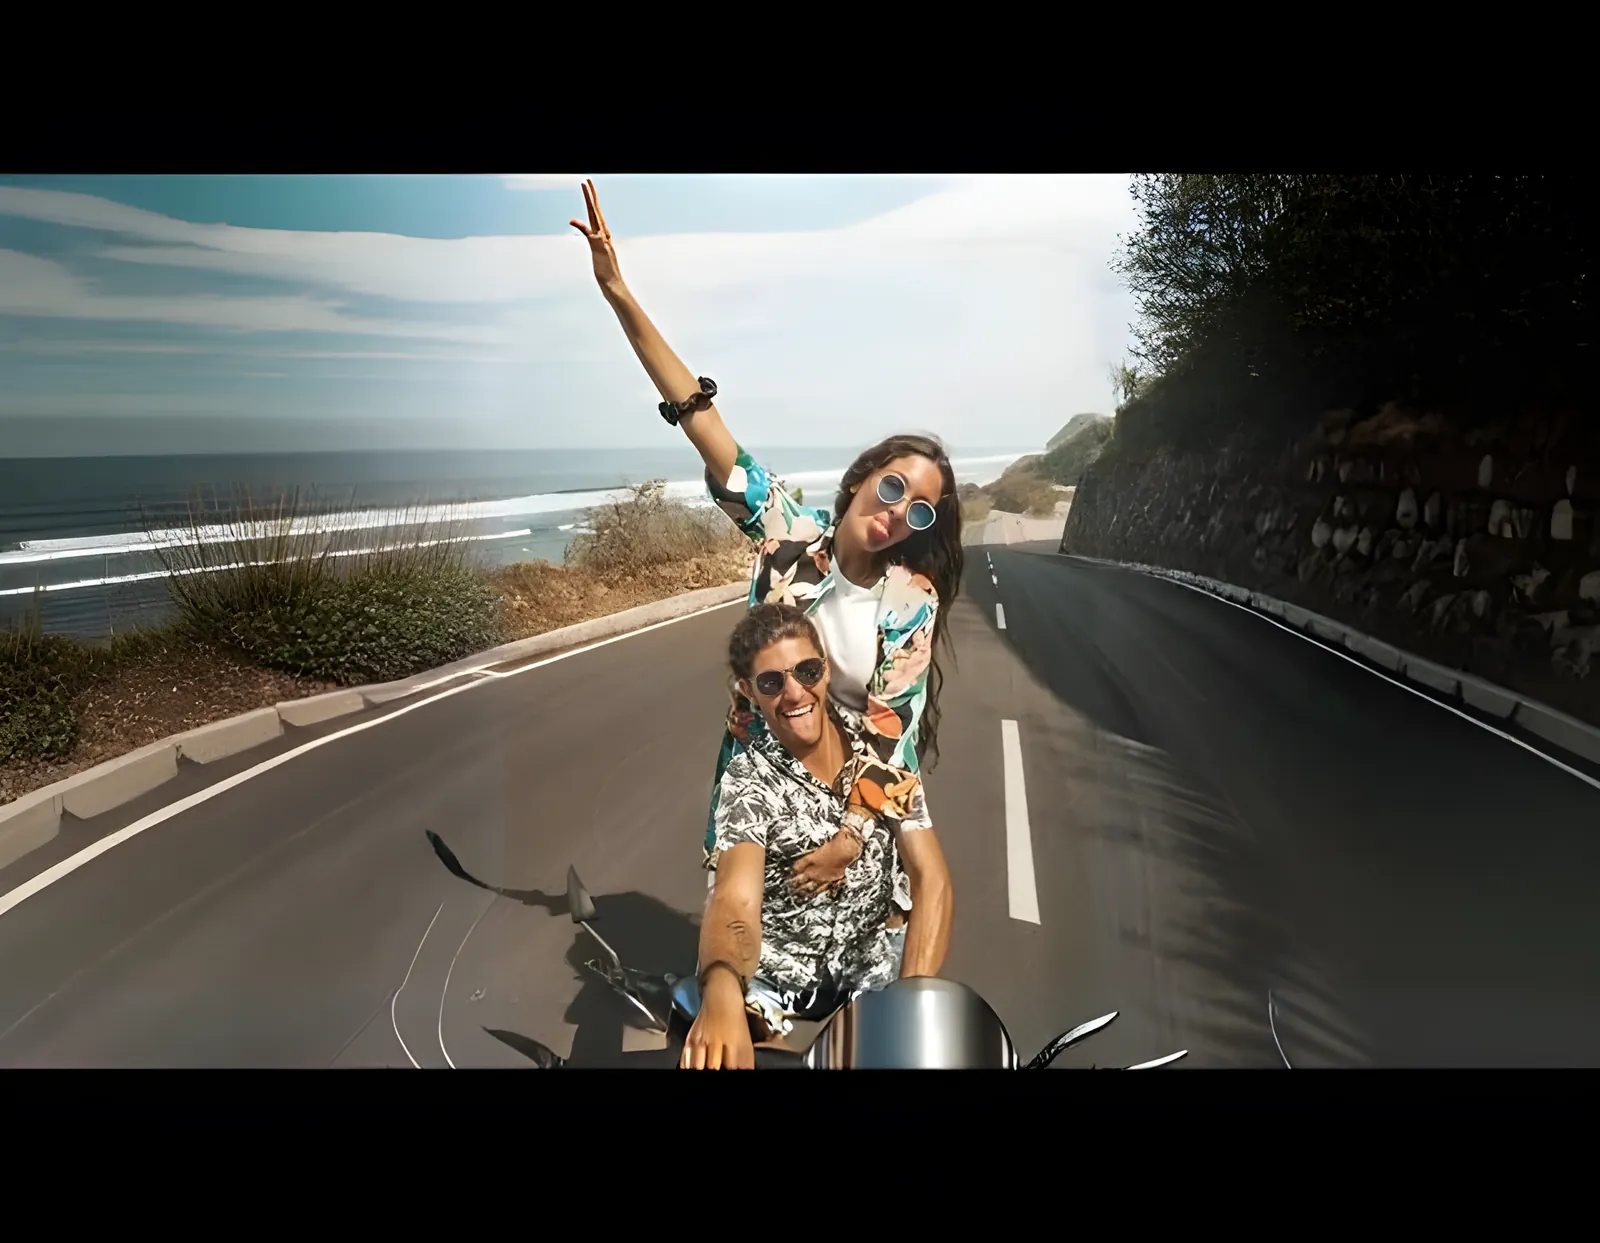
Resize any photo to a new aspect ratio without cropping or losing quality, using AI outpainting.
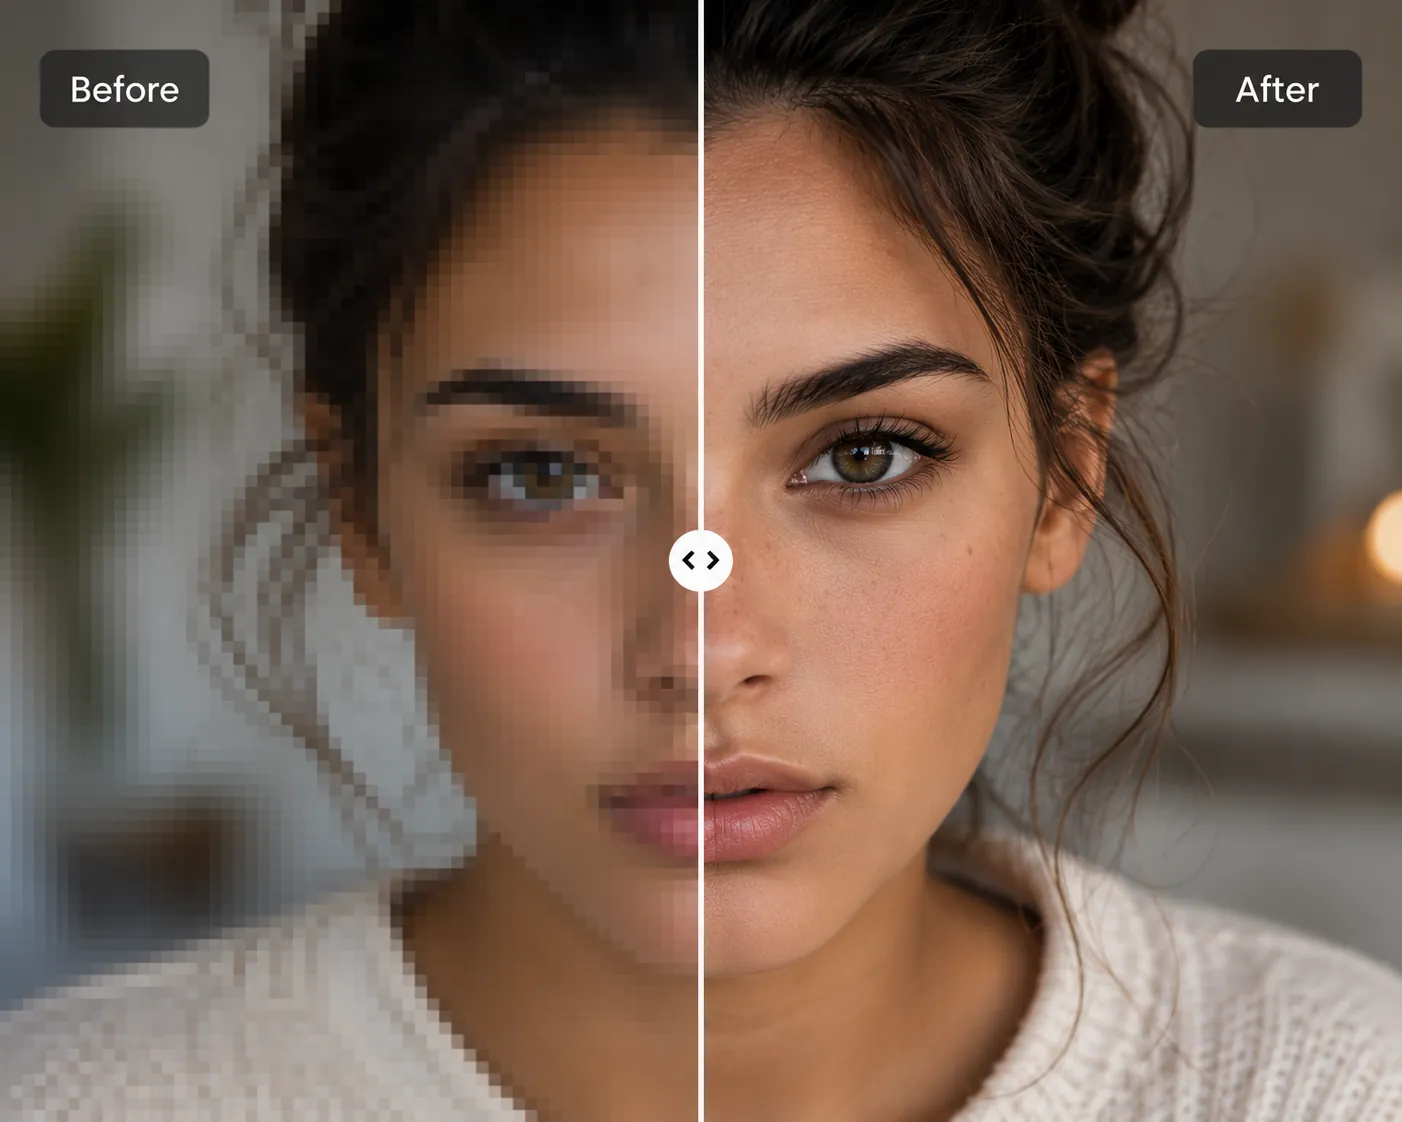
How AI upscaling actually works, and how to choose the right tool for the job.
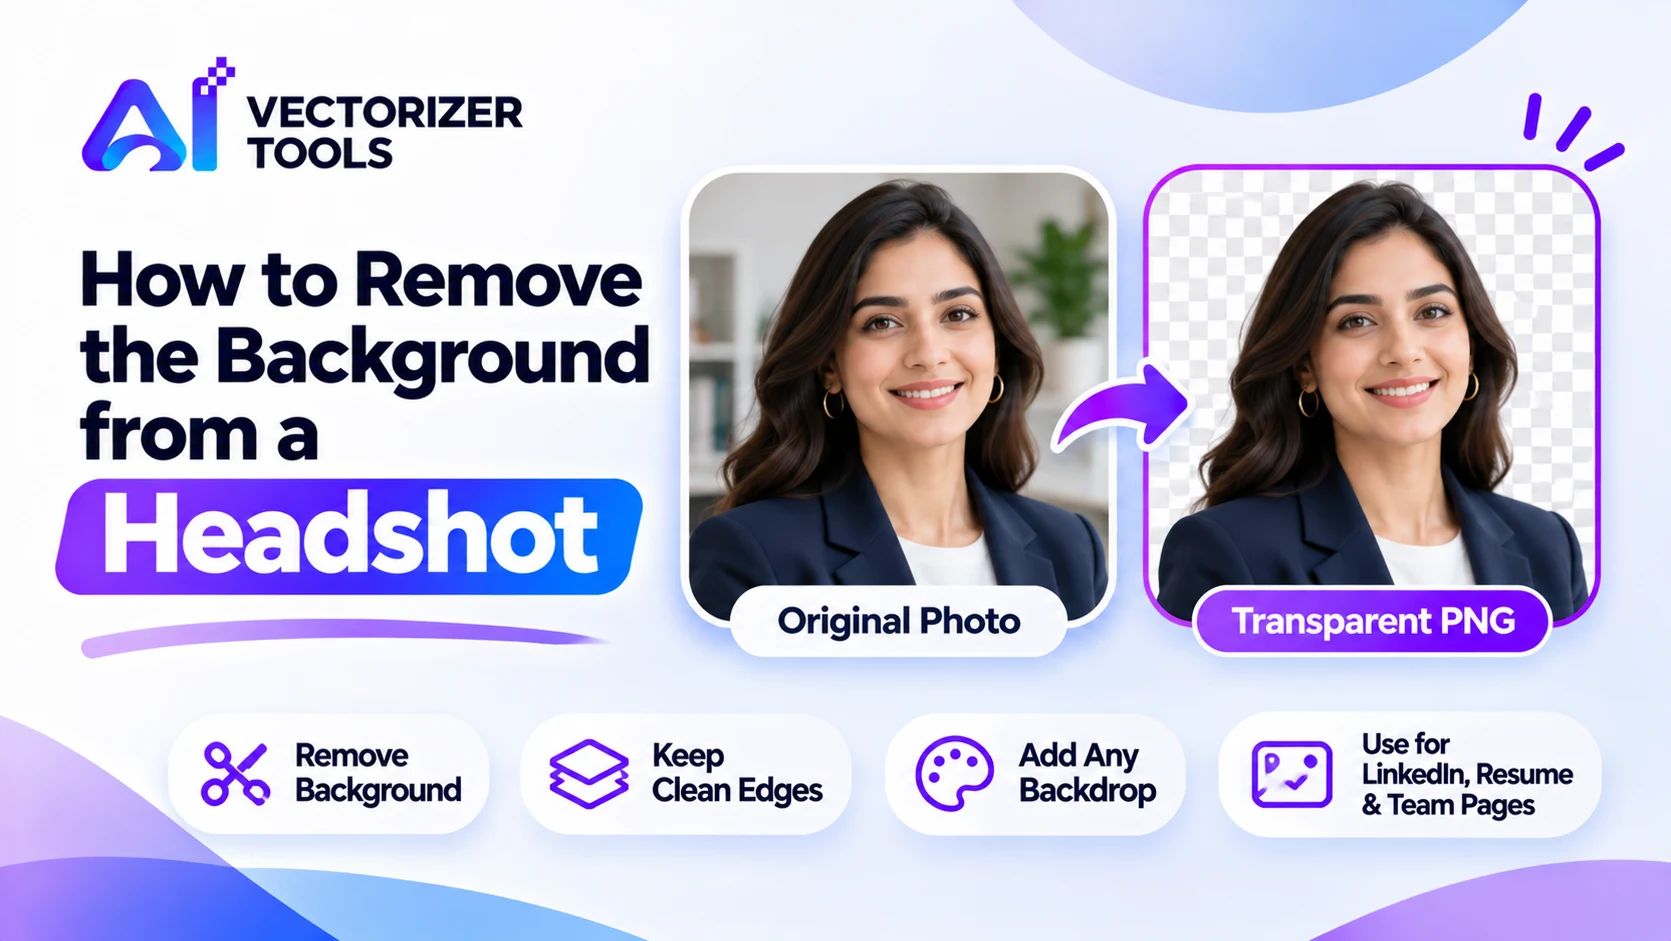
Remove the background from a headshot for LinkedIn, resumes or team pages. Learn how to get clean hair edges and what to avoid when shooting.
The goal is to keep your original pixels and generate only the new areas around them. Always zoom in near the seam to check.
Small to medium extensions look the most natural. Very large extensions give the AI more to invent and are more likely to look off.
Yes. Stretching distorts everything, while expanding adds new content and keeps proportions intact.