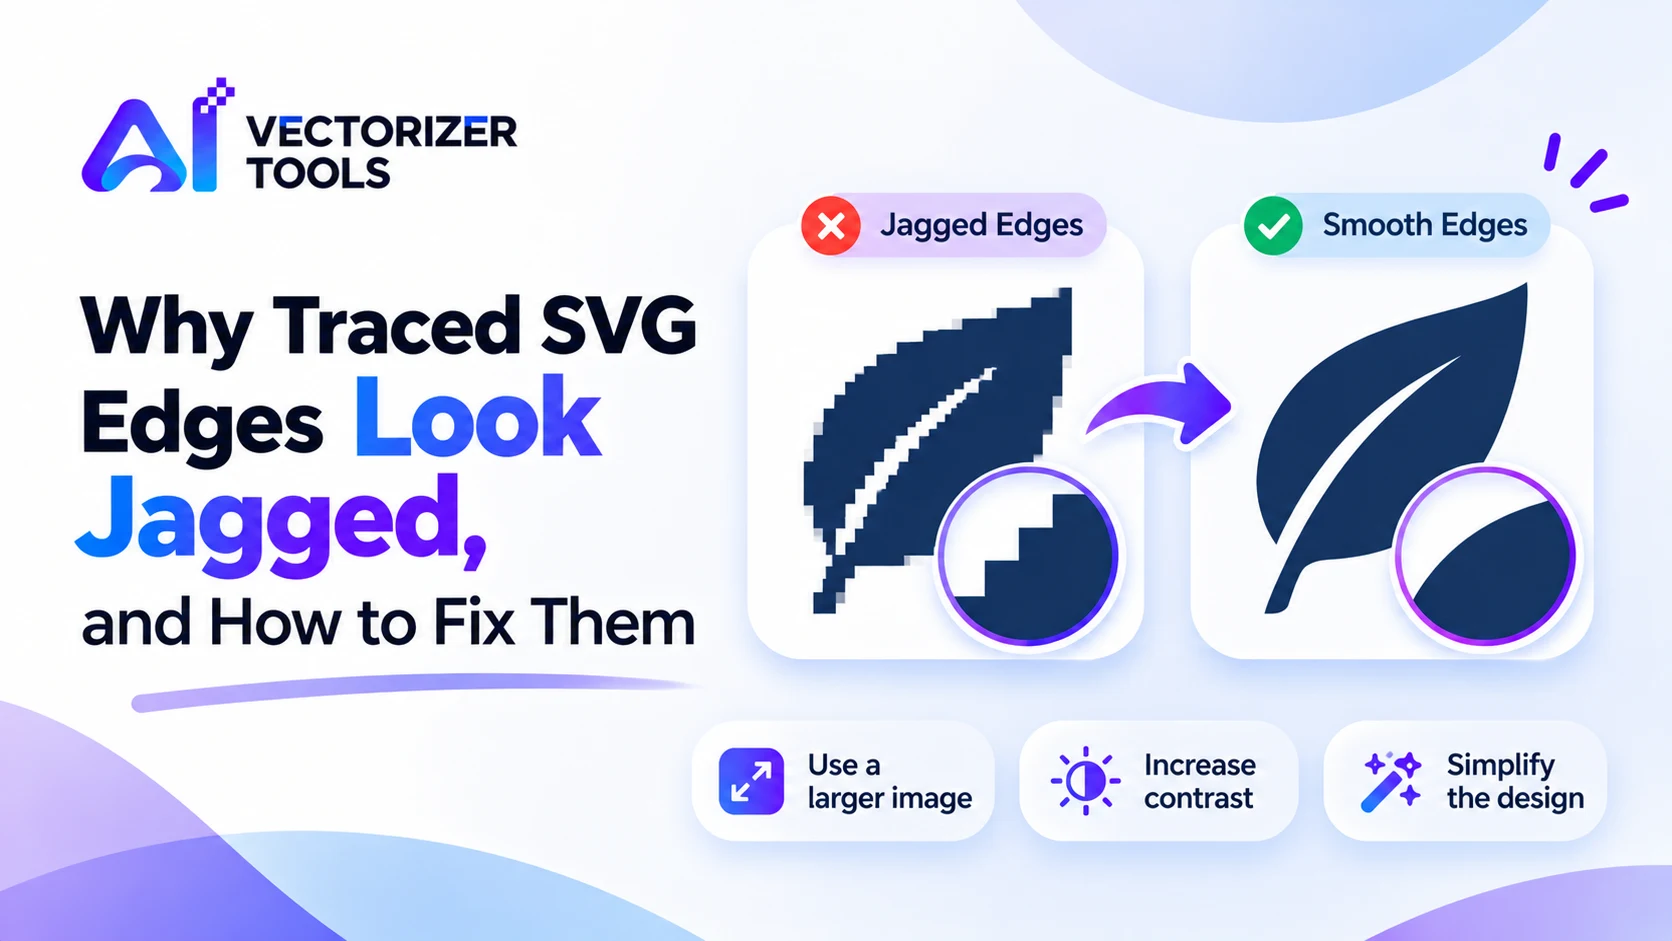
You have converted an image into an SVG and zoomed in, only to find that the edges appear jagged, stepped, or bumpy. This is the most common criticism regarding vectorization; yet, in almost every case, the issue stems from the source image, not the tool.
The outline of a raster image is composed of square pixels. In a low-resolution image, a curve effectively takes the form of a staircase. The vectorization process follows what it perceives; consequently, the staircase is transformed into an irregular outline. Images that appear satisfactory on screen may prove too small or lack sufficient sharpness for clean vectorization. Furthermore, the automatic vectorization of a hand-drawn or poor-quality image can generate a multitude of superfluous points, which gives the path a jagged appearance and slows down the cutting process.
Before you change anything, work out which of three problems you have. They look similar but have different fixes.
| Symptom | Looks like | Usual cause |
|---|---|---|
| Stair-stepping | Visible small steps along curves and diagonals | Low-resolution source |
| Wobble | Slightly wavy edges that should be straight | Soft or noisy source, or hand-drawn input |
| Fuzz | Fringe or little spots along edges | JPG compression or anti-aliased shadows |
Open the original image and zoom in to 800 percent. If you can see the steps or fuzz there, the tracer saw them too. The fix is in the source, not the output.
Once you know which symptom you're looking at, the fix is usually one of these five. Match what you see to the row below before you spend time re-converting.
| Cause | What you see | Fix |
|---|---|---|
| Small source | Stair-stepped curves | Use a larger original or upscale 4x first |
| JPG compression | Blotchy fringe around edges | Use PNG or the original file |
| Blurry or soft edges | Lumpy outlines | Sharpen or increase contrast before converting |
| Anti-aliased shadows | Extra thin shapes | Remove shadows; clean the background |
| Too much detail | Heavy, noisy paths | Simplify the artwork first |
Screenshots and thumbnails are the worst starting points.
Use the Image Upscaler. This adds smoother detail so curves have more pixels to follow.
So edges are crisp, with dark shapes on a light background.
If problems remain, simplify the shape or redraw the troublesome part.
There is no single magic number, but a useful rule of thumb is that simple logos can be cleanly vectorized if their longest side measures at least 1,000 pixels; more detailed visuals, however, require a higher resolution. A web-ready logo that is only 300 pixels wide is a classic example of something that will yield poor results. If your image is smaller, enlarging it first generally leads to a noticeable improvement. An image upscaler tool can increase the size fourfold — for instance, a 500-pixel logo would become 2,000 pixels wide before the vectorization step.
While enlargement cannot create information that isn't there, it does help mitigate the "staircase" (aliasing) effect, resulting in sharper outlines that the vectorization tool can trace more easily.
You have a 400 × 400 PNG file depicting a circular badge. The initial outline shows a slightly irregular circle. You scale this PNG up by a factor of 4 to create a 1,600 × 1,600 image, and then perform the same conversion process again. The circle now appears significantly rounder, and the edges of the text are smoother. The tool is the same, and the settings are identical; only the starting element has changed.
On screen, a slight irregularity may go unnoticed at normal scale. Since the cutting machine follows the exact path, every imperfection translates into a physical irregularity in the material. Imprecise paths containing an excessive number of points can also slow down the cutting process. In the case of vinyl, these irregularities make weeding more difficult; for laser cutting, they result in uneven cut lines. See vinyl cutting and laser cutting for more.
If the source is tiny, badly compressed and blurry, no amount of cleanup will give a perfect result. In that case:
Not every image is a good candidate; see which images vectorize well.
Usually the source image was low resolution or compressed, so the traced edge follows visible pixel steps.
Often yes. A larger, smoother source gives the tracer more detail to follow, but upscaling can't fix a badly blurred image.
In most cases it's the image. Try the same conversion with a larger, cleaner version to see the difference.
Upscale, clean up and convert your source image into a crisp vector file in seconds, with no jagged edges to fix afterward.
Make an SVG from your image →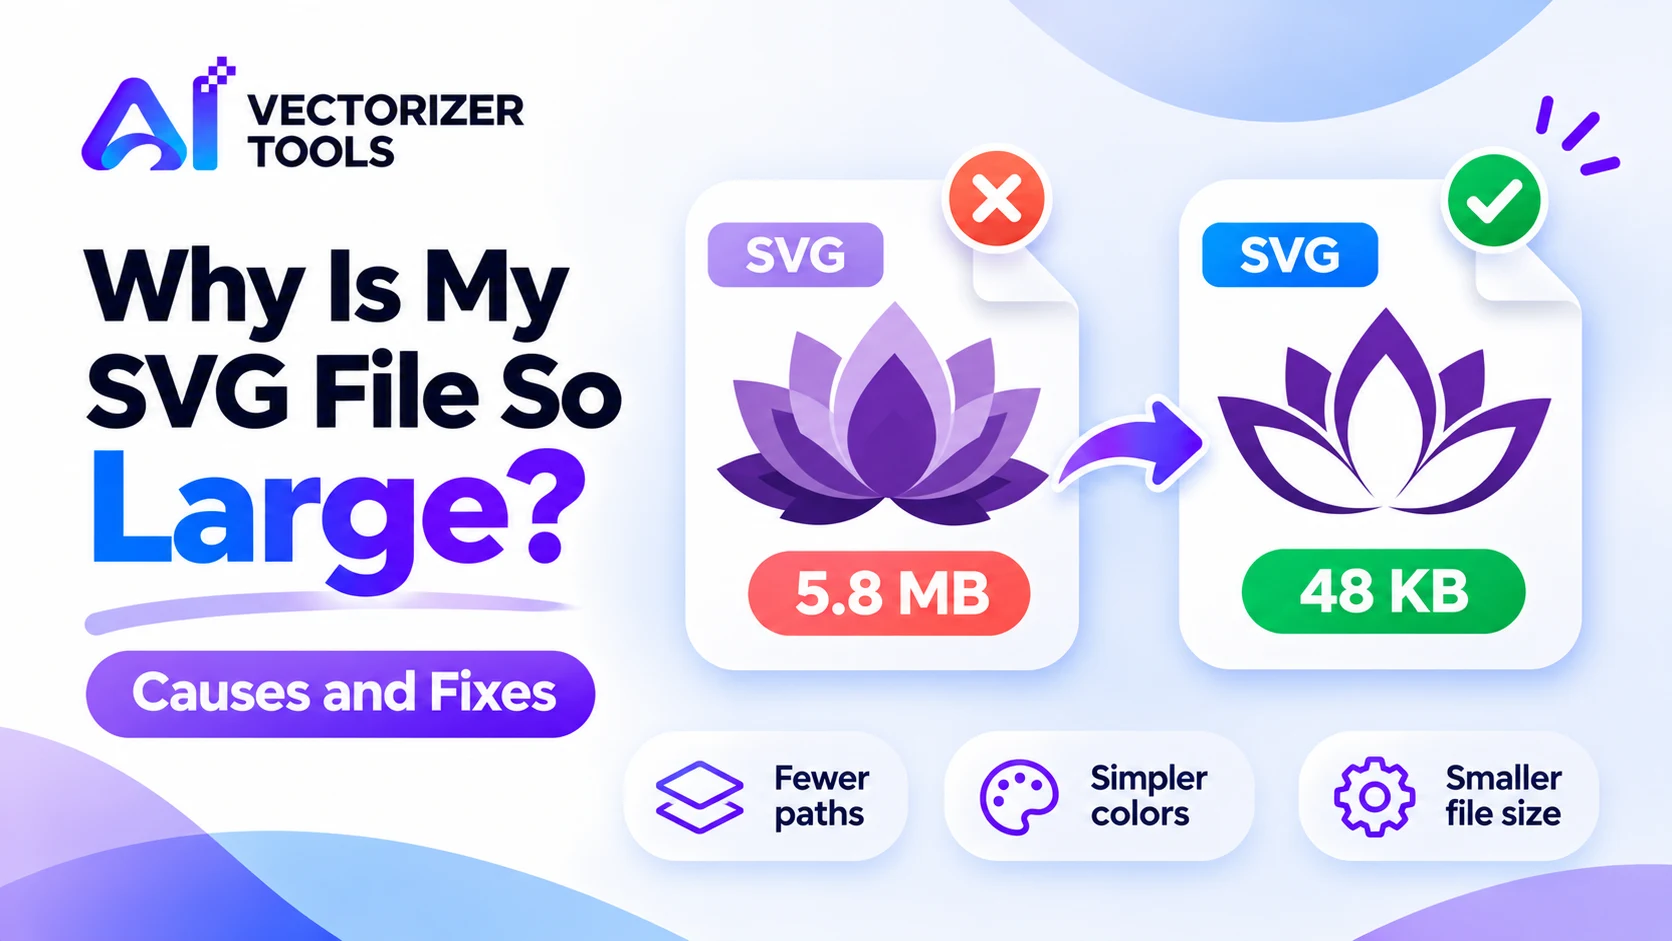
A huge SVG usually means too many points or an embedded image. Learn the causes, how to shrink the file, and how to avoid it when converting.
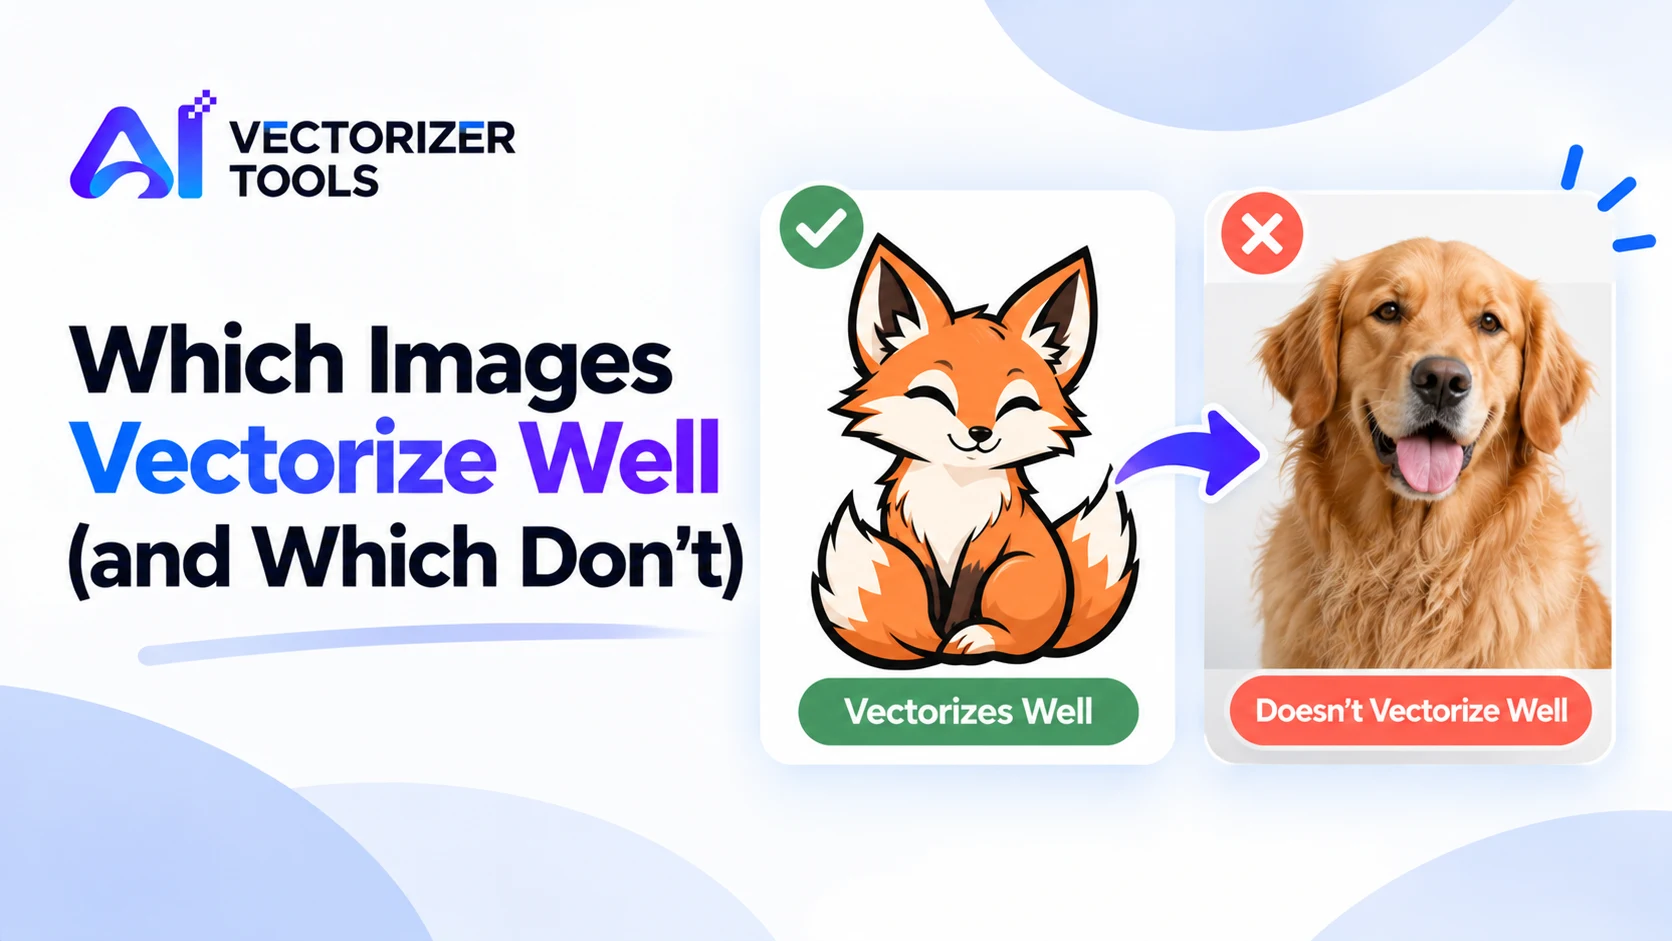
Not every image converts well to SVG. See which images trace cleanly, which turn messy, and a quick checklist to test yours before converting.
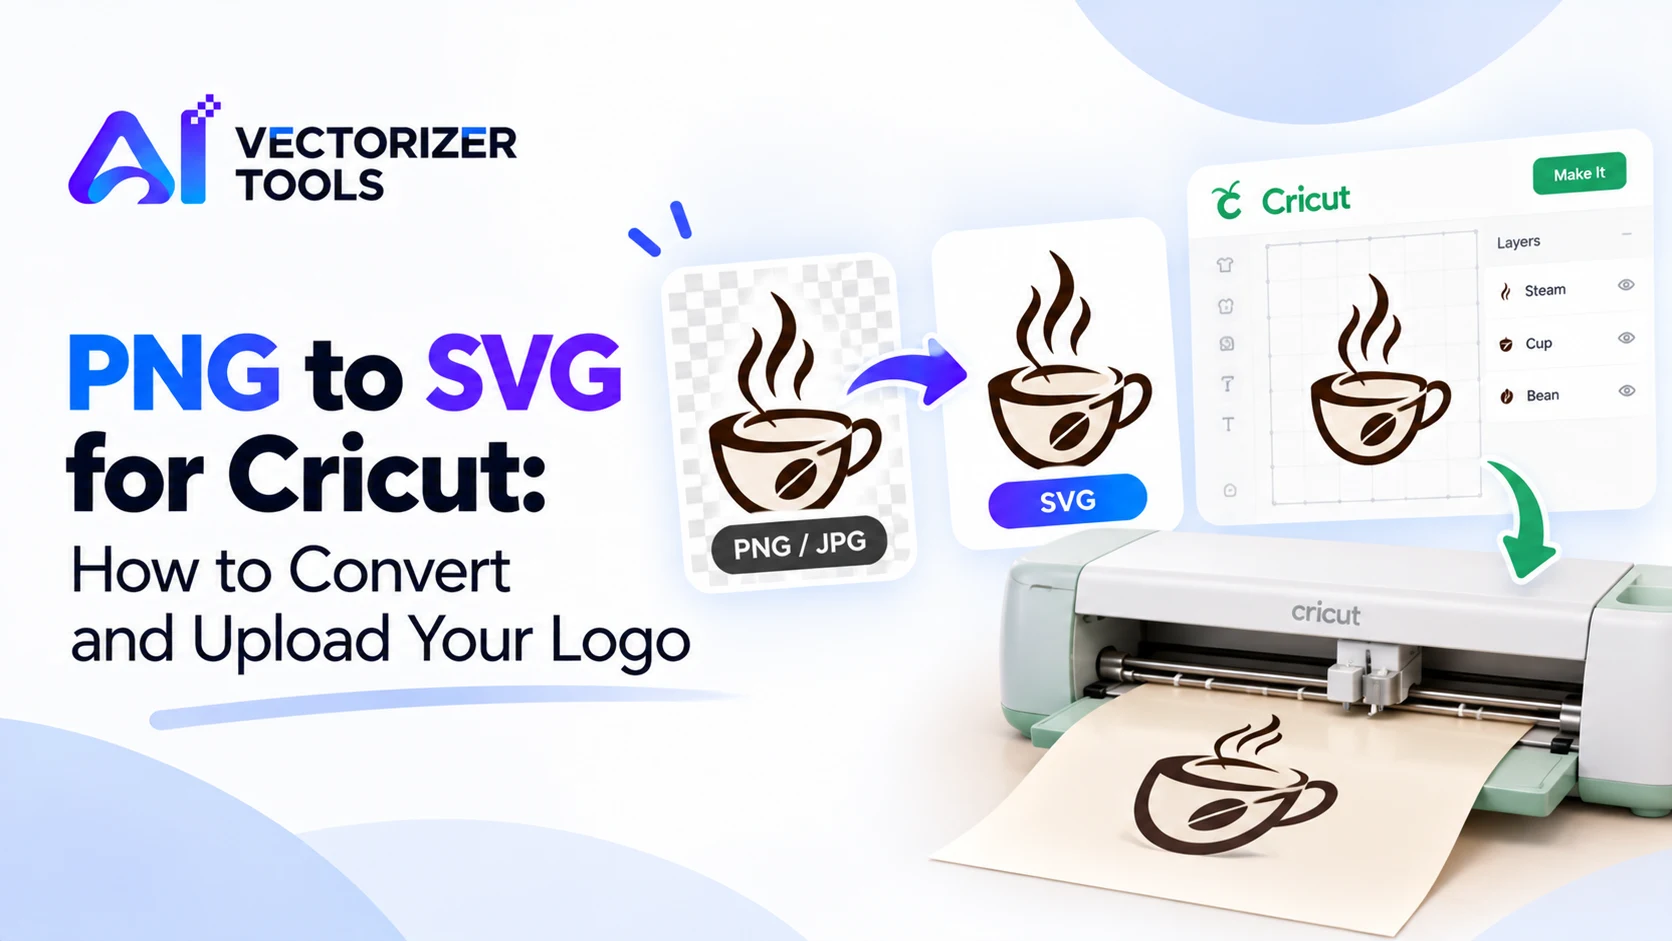
Turn a PNG or JPG logo into an SVG for Cricut Design Space. Learn which images convert well, how to upload, and how to fix common upload errors.